Understanding Digital Art Rendering

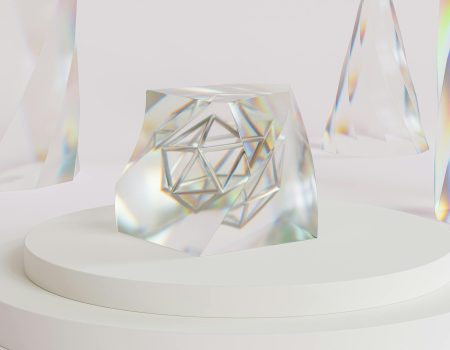
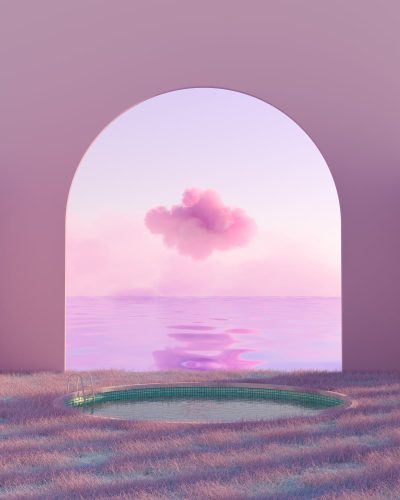
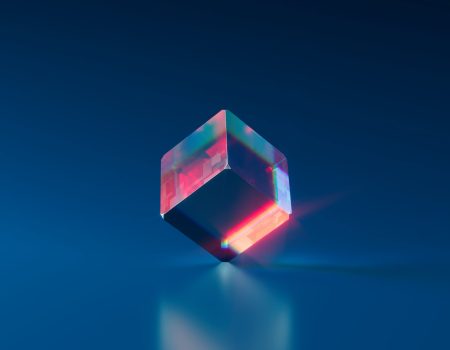
Basically, easily explained rendering in digital art refers to the process of generating the final image or visual representation from a three-dimensional (3D) model or scene. Like creating something that looks realistic but isn’t. Also involves calculating and producing the 2D image or animation that can be displayed on a screen or even printed.
For instance, its all about communicating dept and light, shapes and shadows.
Of course, rendering can be really intensive, especially for complex scenes with many objects, textures, and effects. Furthermore, artists may need to use specialized hardware, or leverage cloud rendering services to achieve optimal results within reasonable time frames.
Actually it’s rather complex but in this guide I will try to explain it is simple terms. Overall, digital art rendering is a fascinating field that offers a vast range of creative possibilities, and is becoming increasingly accessible to artists of all levels.
Let’s start by explaining the key techniques, who does the rendering, followed by how to enhance your digital art with rendering. We’ll also discuss a step by step guide and finish of with a conclusions.
Who Does Rendering In Digital Art
Mostly done by artists, designers, or professionals who work in fields such as animation, film production, video games, architecture, product design, virtual reality.
For example, and not including everyone:
- 3D artist
- Digital artists
- Animation studios
- Game developers
- Film visual artists
- Product designers
- Graphic designers
Actually it’s the collaboration of all of these professionals that creates splendid results when rendering in digital art. Creating everything from animated files to video games.
Key Techniques For Rendering Digital Art
What are the key techniques for rendering digital art? For instance, artists may use specialized modeling software to create 3D objects, followed by texturing tools to add colors, patterns, and other surface attributes to the objects. Other tools, such as lighting and shading effects, might be used to simulate illumination and shadows in a scene. An incredible world of images and shadows can be created when you manipulate 3D objects, apply textures and other visual effects, and render final images.
To render digital art effectively, there are several key techniques to keep in mind. First, it’s essential to understand the importance of lighting and shadows. Using different types of lighting, such as ambient, directional, and point lighting, can add depth and realism to your artwork. Additionally, mastering the use of textures and materials can help to create a more realistic look and feel.
Another important technique is to practice using different rendering engines, such as V-Ray or Arnold. Each engine functions differently, and understanding their strengths and weaknesses can help you achieve different effects.
Rendering Engines
The first example, rendering engine Arnold, is an engine used for high-quality visual effects and animations in movies and TV. Furthermore, it can simulate complex lighting and shading scenarios and use ray tracing to accurately model light behavior. For instance, Arnold also has flexible controls for scene adjustments and is popular among artists and designers. More importantely, it’s a powerful tool for creating stunning visual content in the visual effects and animation industries.
Second example, V-Ray. A bit different as it focuses more on architeture. A very is a powerful and versatile 3D rendering engine used in architecture, interior design, and multimedia. Incredibly, it’s seamlessly integrated with popular 3D modeling software and uses advanced lighting techniques for highly realistic images. In short works really well faster rendering times and more complex scenes.
Finally, learning the basics of composition and color theory can take your artwork to the next level. By creating a strong composition and using contrasting and complementary colors, you can make your art pop and stand out. With these techniques in mind, you can create stunning digital artwork that will leave the viewer in awe.
Enhancing Your Art

Most of all, the world of digital art is an expansive and exciting space for people to explore. The advanced tools and software offer a lot of opportunities for artists to unleash their creativity and create truly mesmerizing pieces. Nowadays, artists and other people have the need to enhance art. After all, rendering is one of the most vital aspects of digital art, as it provides the artist with the ability to add depth and texture to their work.
While there are many rendering techniques available, there is no limit to the level of creativity that can be achieved. The possibilities are endless, from the manipulation of light to the implementation of shadows and shapes. Each technique has its own unique strengths and weaknesses, allowing artists to create artwork that is as unique as their imagination. Also each technique can enhance your art in different ways.
As an artist, it is essential to embrace the many rendering techniques available and discover which ones work best for you. With the right tools and techniques, the sky is the limit for what you can accomplish. Embrace your vision and bring it to life through digital art.
Step By Step Guide For Beginners

Rendering digital art can seem daunting for beginners, but with the right tools and techniques, it can be a fun and rewarding experience. Here’s a step-by-step guide to get started:
1. Choose your software: Pick a digital art software that works well for your needs and experience level, such as Adobe Photoshop or Procreate.
2. Create your sketch: Use your chosen software to sketch out your art piece, paying attention to the composition, lighting, and details.
3. Block in color: Once your sketch is complete, block in the basic colors and values to establish the overall mood and tone of your artwork.
4. Add details and texture: Start adding details and texture to your artwork using various brushes and tools within your software.
5. Refine and polish: Keep refining your artwork until it meets your vision, adding additional layers, shading, and highlighting.
6. Save and share: Once you’re happy with your artwork, save it in a high-quality format such as PNG or JPEG and share it with others online to showcase your skills.
TIPS! Do remember, the key to success in rendering digital art is practice, so keep experimenting and learning new techniques to improve your skills.
Rendering digital images involves using software to create realistic or stylized graphics with accurate lighting, texture, and shadows. Before saving the image in a preferred format, it’s essential to check for errors and use post-processing techniques to enhance the final image. With the growing demand for digital art, mastering rendering techniques is vital for artists and designers. By paying attention to detail and using best practices, artists can create alluring images that captivate audiences. Not like adding a logo to your photos which requires different knowledge.
Wrapping Up
In conclusion, rendering in digital art is a process that transforms 3D models or scenes into beautiful and often realistic two-dimensional images or animations. However, this complex procedure is crucial for many industries, including animation, film production, video games, architecture, product design, and virtual reality. After all, the possibility to correctly simulate lighting, shadows, textures, and other visual elements contributes majorly to the overall quality of digital art. The architectural rendering trends 2023 are very interesting and give magnificent buildings. Do you want to find out more about traditional art vs digital art.
